NetBeans IDE Basics
The Palette
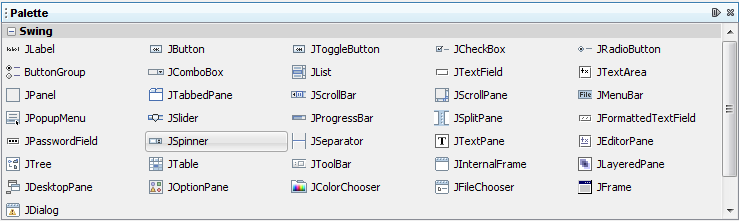
The Palette contains all of the components offered by the Swing API. You can probably already guess what many of these components are for, even if this is your first time using them (JLabel is a text label, JList
is a drop-down list, etc.)
This figure has been reduced to fit on the page.
Click the image to view it at its natural size.
From this list, our application will use only JLabel
(a basic text label), JTextField (for the user to enter the temperature), and
JButton (to convert the temperature from Celsius to Fahrenheit.)
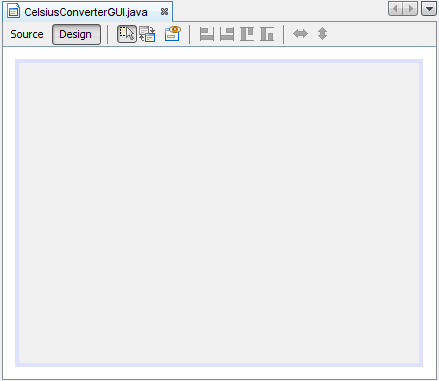
The Design Area
The Design Area is where you will visually construct your GUI. It has two views: source view, and design view. Design view is the default, as shown below. You can toggle between views at any time by clicking their respective tabs.
This figure has been reduced to fit on the page.
Click the image to view it at its natural size.
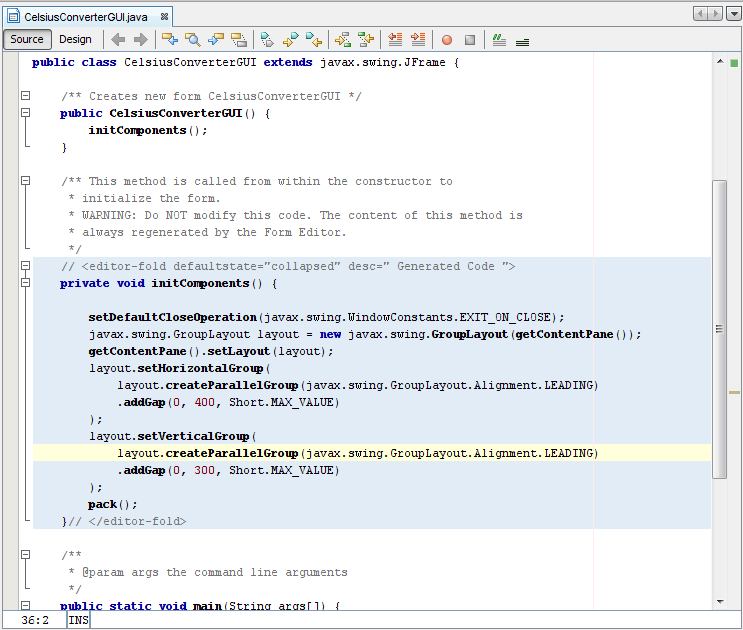
The figure above shows a single JFrame object, as represented by the
large shaded rectangle with blue border. Commonly expected behavior (such as quitting when the user clicks the "close"
button) is auto-generated by the IDE and appears in the source view between uneditable blue sections
of code known as guarded blocks.
This figure has been reduced to fit on the page.
Click the image to view it at its natural size.
A quick
look at the source view reveals that the IDE has created a private method named
initComponents, which initializes the various components of the GUI. It also tells the
application to "exit on close", performs some layout-specific tasks, then packs the (soon to be added)
components together on screen.
Don't feel that you need to understand this code in any detail; we mention it here simply to explore the source tab. For more information about these components, see:
How to Make Frames (Main Windows) and Laying Out Components Within a Container .The Property Editor
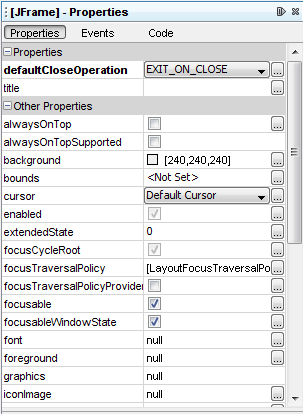
The Property Editor does what its name implies: it allows you to edit the properties of each component. The Property Editor is intuitive to use; in it you will see a series of rows — one row per property — that you can click and edit without entering the source code directly. The following figure shows the Property Editor for the newly addedJFrame object:
This figure has been reduced to fit on the page.
Click the image to view it at its natural size.
The Inspector
The last component of the NetBeans IDE that we will use in this lesson is the Inspector: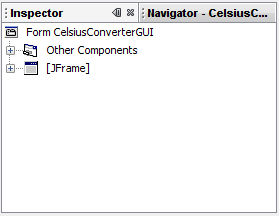
The Inspector
