Adjusting the CelsiusConverter GUI
Step 1: Set the Component Text
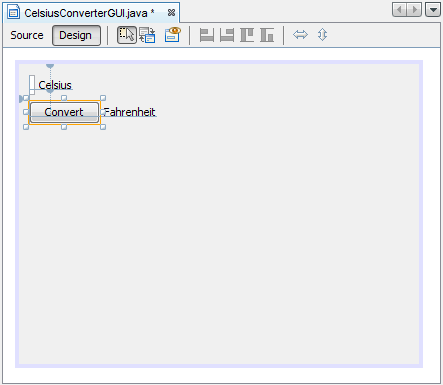
First, double-click the JTextField and JButton to change
the default text that was inserted by the IDE. When you erase the text from the
JTextField, it will shrink in size as shown below. Change the text of
the JButton from "JButton1" to "Convert." Also change the top
JLabel text to "Celsius" and the bottom to "Fahrenheit."

Setting the Component Text
Step 2: Set the Component Size
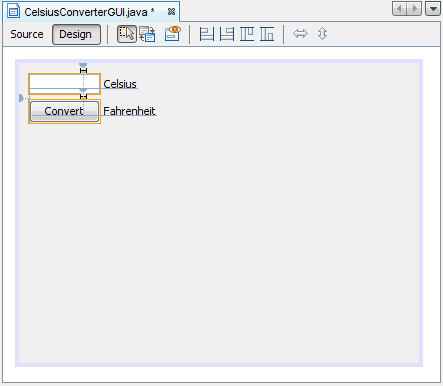
Next, shift-click the JTextField and JButton components. This will
highlight each showing that they are selected. Right-click
(control-click for mac users) Same Size -> Same Width. The
components will now be the same width, as shown below. When you
perform this step, make sure that JFrame itself is not also selected. If it is, the Same Size menu will not be active.

Setting the JTextField and JButton Sizes
Step 3: Remove Extra Space
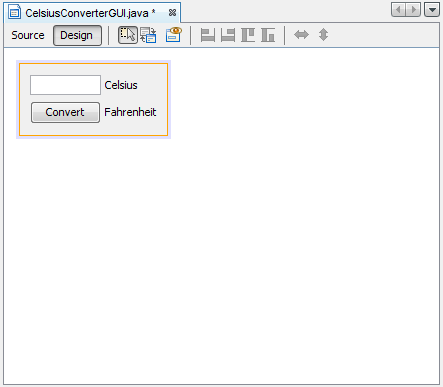
Finally, grab the lower right-hand corner of theJFrame and adjust its size to
eliminate any extra whitespace. Note that if you eliminate all of the extra space (as shown below)
the title (which only appears at runtime) may not show completely. The end-user is free to resize
the application as desired, but you may want to leave some extra space on the right side
to make sure that everything fits correctly. Experiment, and use the screenshot of the finished GUI
as a guide.

The Completed GUI
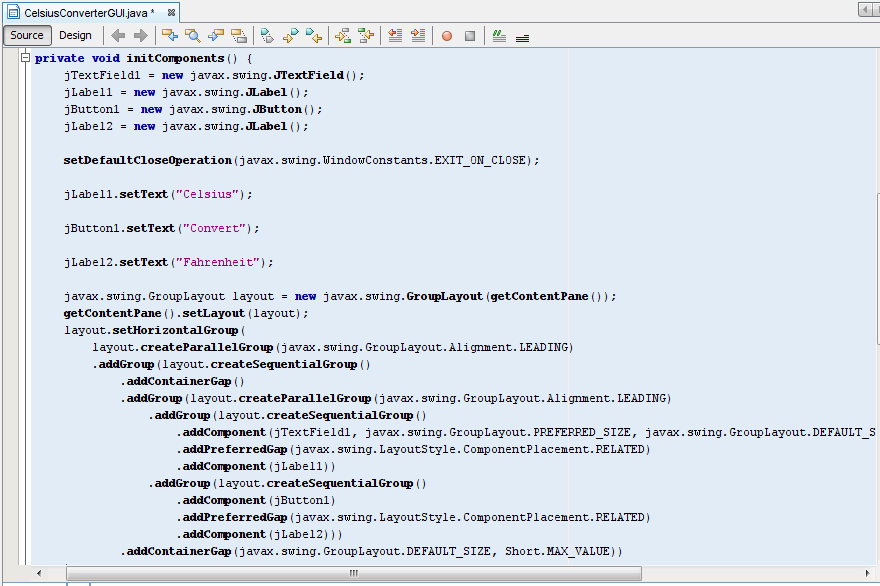
The GUI portion of this application is now complete! If the NetBeans IDE has done its job, you should feel that creating this GUI was a simple, if not trivial, task. But take a minute to click on the source tab; you might be surprised at the amount of code that has been generated.

This figure has been reduced to fit on the page.
Click the image to view it at its natural size.
To see the code in its entirety, scroll up and down within the IDE as necessary. You can expand or collapse certain blocks of code (such as method bodies) by clicking the + or - symbol on the left-hand side of the source editor.
