One of the best features of Django is that it comes with a full-featured, attractive admin interface that you can use to maintain websites. The admin interface lets you create, view, and modify data in your database models from an administrator perspective.
The three main views that you deal with in the admin interface are the main or model view, the change list view, and the form view. The following sections briefly describe each of these views to give you an initial feel for the admin interface. We will discuss the admin interface more in Hours 2, 3, 17, and 18.
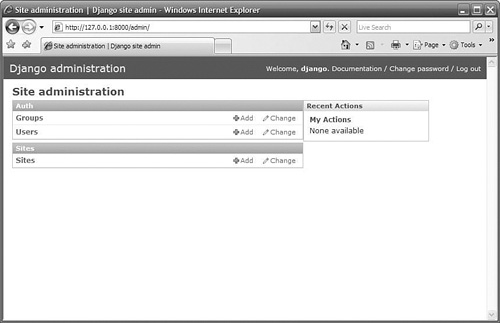
The admin model view is the main view that is displayed when you access the admin interface. You can see the model view by typing the URL /admin/ into a browser:
http://127.0.0.1:8000/admin/
The model view displays a list of the models that are currently installed in the admin interface for the project. From the model view, click the Add or Change link to the right of each model, as shown in Figure 1.1, to access the add form or change list view.
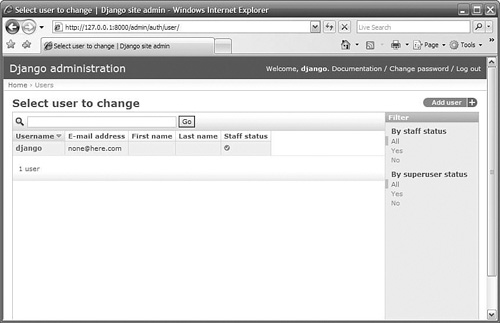
The admin change list view displays a list of objects that currently exist in a specific model. You can access the change list view for a model by clicking the Change link next to the model in the model view, as shown in Figure 1.1. You can see the change list view by typing the URL /admin/application/model into a browser:
http://127.0.0.1:8000/admin/auth/user
From the change list view, you can filter the list of objects using items in the filter list or by typing text into the search box. You can also sort the items in the list in ascending or descending order by clicking one of the headings in the list. You can add new objects to the list and, subsequently, the database as well by clicking the Add user link in the upper right corner of the change list view, as shown in Figure 1.2.
There are two different admin form views: the change form and the add form. The change form view, shown in Figure 1.3, displays the details of an object that currently exists in the database. You can access the change form by clicking one of the objects displayed in the change list, shown in Figure 1.2. You can see the change form for a specific object by typing the URL /admin/application/model/object-id into a browser:
http://127.0.0.1:8000/admin/auth/user/1/
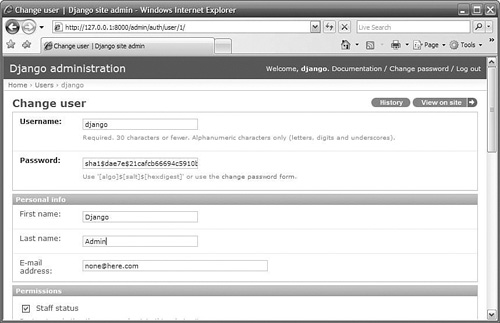
Any changes you make in the change form are saved to the database when you click the Save button.
The add form is basically the same as the change form, except that it represents a new object that doesn't exist in the database. You can add data to the form, and then a new object is created.
You can get to the add form by clicking the Add link in the model view, shown in Figure 1.1, or the Add user link in the change list view, shown in Figure 1.2. You can see the add form for a specific object by typing the URL /admin/application/model/add in a browser:
http://127.0.0.1:8000/admin/auth/user/add/