Django provides a django.contrib.auth.models.Group object that can be added to the groups field of a User object. The Group object has two fields—name and permissions. When you set the permissions attribute of the Group object, the permissions flow to each User who is a member of the group.
You can create a Group object using the following code:
from django.contrib.auth.models import Group
newGroup = Group()
newGroup.name = 'New Group'
newGroup.save()
Group objects can be added to and removed from a User object using the add(), remove(), and clear() functions. The add() and remove() functions accept one or more groups and then either add them to or remove them from the User object. The clear() function removes all the groups from the User object. The following code shows an example of the add(), remove(), and clear() functions:
user.groups.add(groupA, groupB)
user.groups.remove(groupC, groupD)
user.groups.clear()
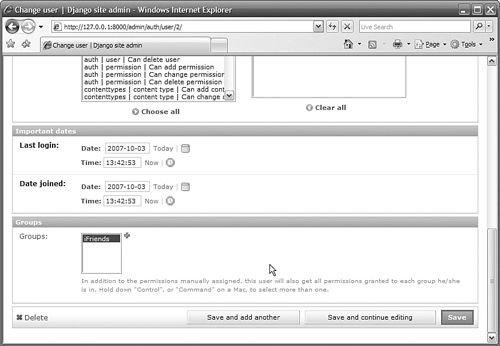
Group objects can also be assigned to User objects in the admin interface. The User object details page lists groups that exist in the site. If you select groups in the groups list, the Group objects are added to the User.
The Group objects that belong to a user can be accessed through the groups attribute of the User object, as shown in the following line of code:
userGroups = user.groups
Group objects are the best way to assign permissions to several users at the same time. They are also a great way to collect users under a single label.
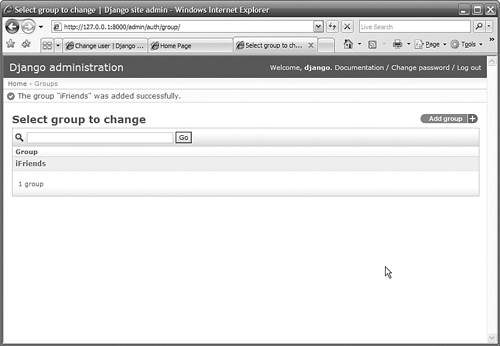
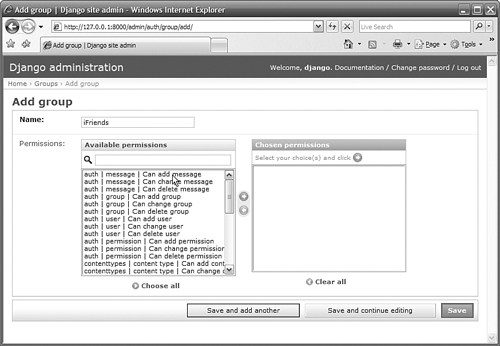
Try It Yourself: Create a Group and Assign Users to ItIn this section, you will create a new Group called iFriends and modify the create_user() view function to automatically assign new users who are created to that group. This allows you to quickly assign permissions to all users who register with the site.
|